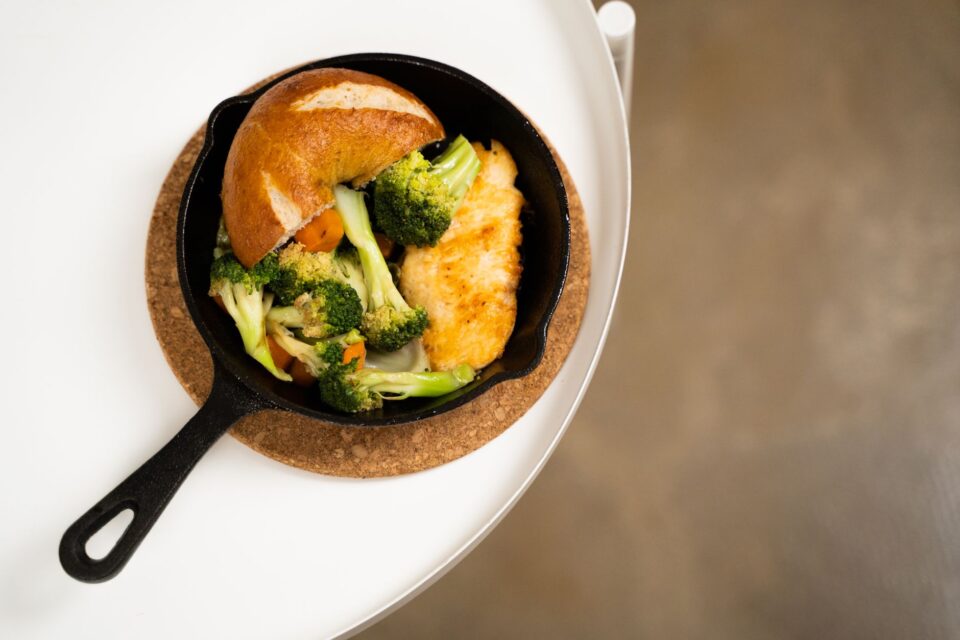
If you want a pan that sears beautifully, bakes like a dream, and lasts for decades, you need cast iron skillet care. This guide walks you through everyday routines and occasional deep work that keep cast iron nonstick, resilient, and ready for anything from cornbread to steak.
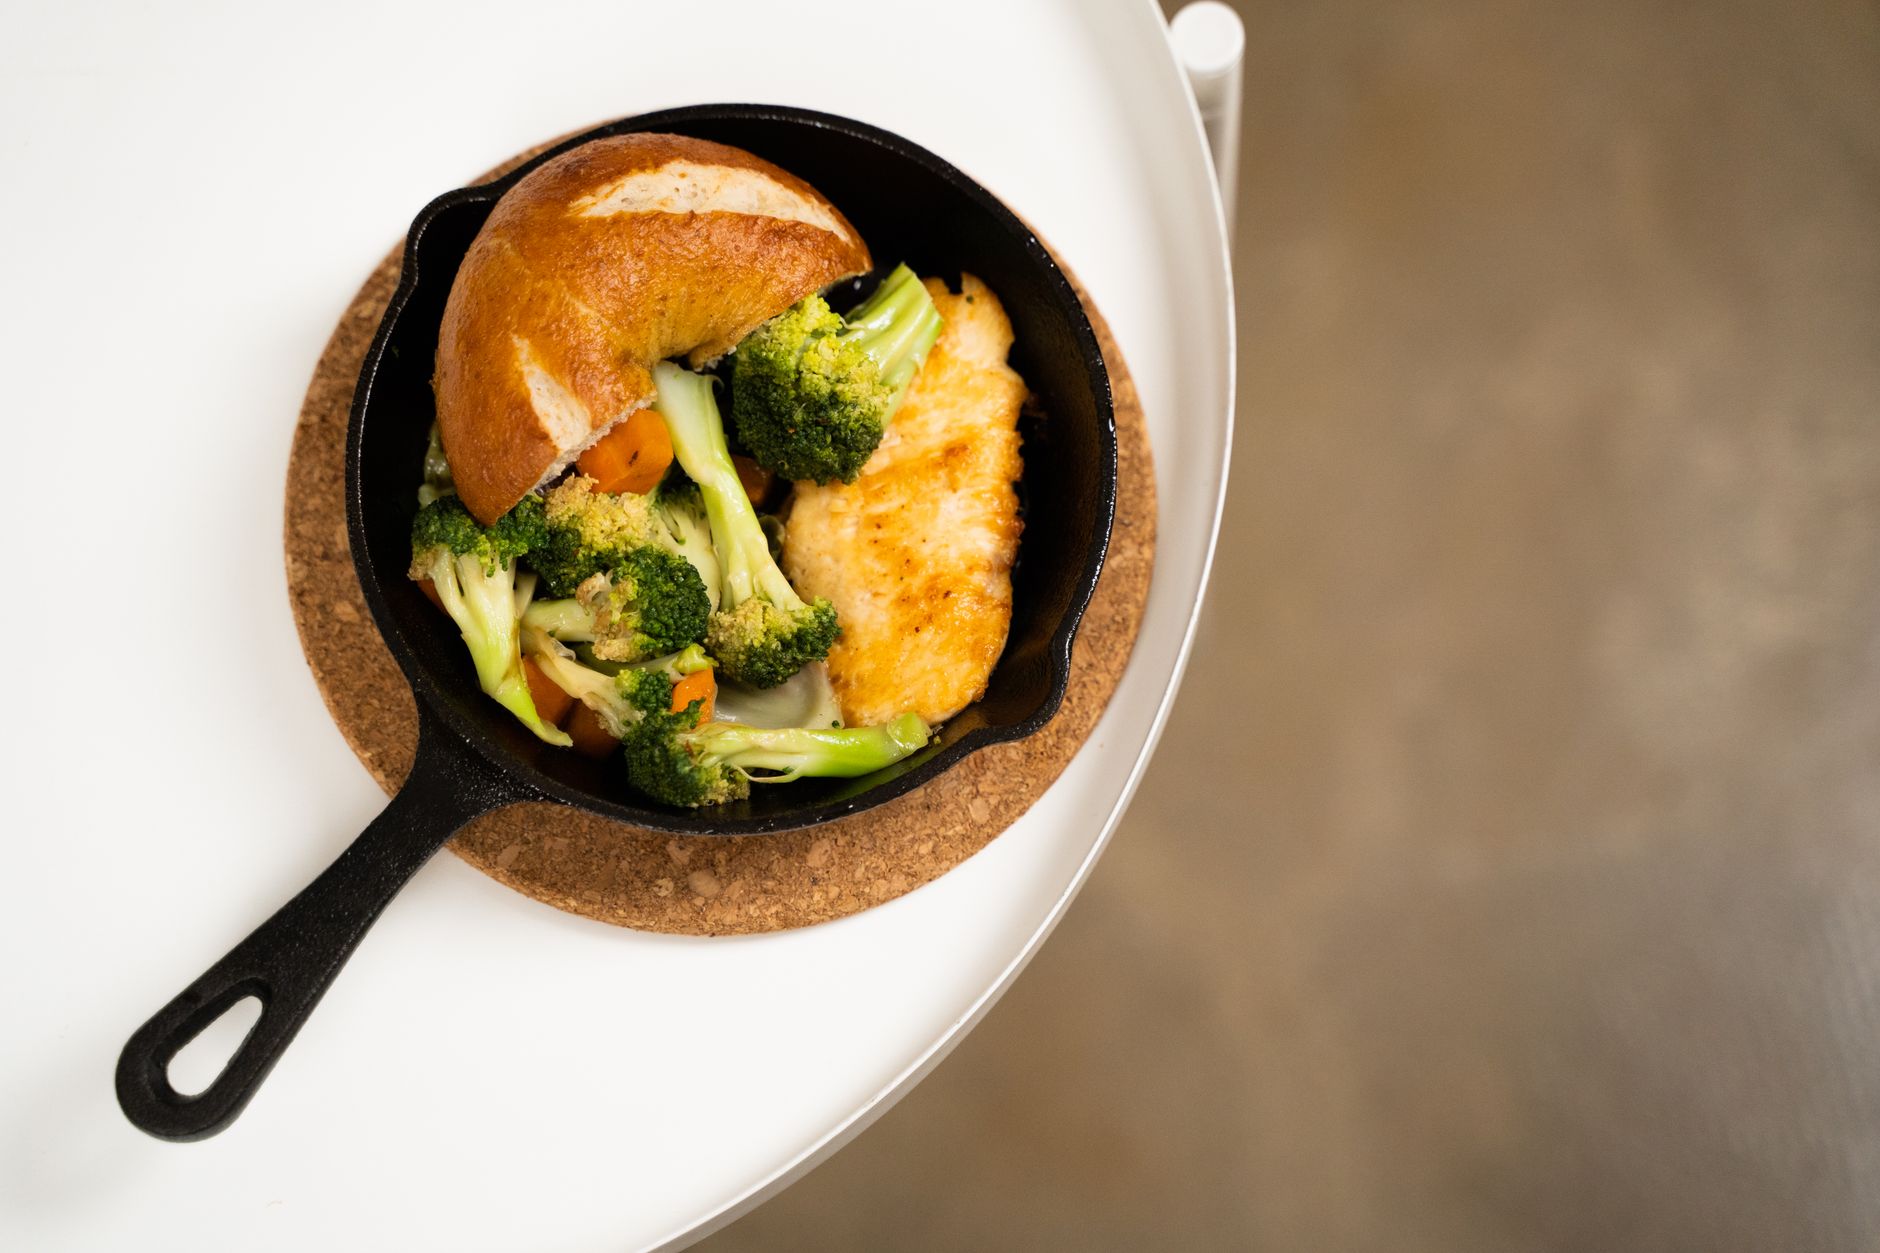
cast iron skillet care
Think of cast iron like a heirloom tool that gets better with consistent attention. The goal is a smooth, lightly glossy surface that releases food easily and resists moisture. You build that surface through seasoning—very thin layers of oil transformed by heat—and you protect it with sensible routines: clean gently, dry thoroughly, oil lightly, and store with airflow. When something goes wrong (sticky patches, dull areas, or a rust bloom), simple fixes get the pan back on track. The payoff is big: cast iron excels at browning, holds heat, and moves from stove to oven without blinking. In short, a few small habits add up to a pan you’ll rely on weekly.
This article focuses on practical, real-world methods. You’ll find step-by-step seasoning instructions, daily cleaning habits, heat management cues for different cooktops, troubleshooting advice, and maintenance schedules. There are also buying tips, myth-busting notes, and examples of recipes that support the finish rather than fight it. If you follow even half of the suggestions here, your skillet will become a workhorse that makes cooking more enjoyable.
Selecting your skillet: size, weight, and surface
Great results start before your first cook. If you’re buying your first pan, match the size to your stovetop and household. An 8-inch skillet suits single eggs and small sides. A 10-inch is the most versatile option for two to four servings and standard burner sizes. A 12-inch gives you room to sear two steaks, roast a whole spatchcocked chicken, or build family-sized frittatas. If your range is compact, a 10-inch pan that sits fully over the burner often heats more evenly than a 12-inch that overhangs.
Weight matters for comfort and control. Heavier pans retain heat and resist temperature dips when food hits the surface, which helps with searing. However, if you struggle with wrist strength or prefer a lighter feel, look for skillets with slightly thinner walls, helper handles, or balanced geometry that makes pouring and lifting safer. Enameled cast iron is an option for sauces and braises; it doesn’t require interior seasoning, though the rims may still need a touch of oil after washing.
Surface texture influences how quickly the finish becomes slick. Many modern pans have a slightly pebbled casting that works beautifully with a few weeks of regular cooking and light oiling. Some premium or vintage pans are machined smoother, which can feel “easier” for eggs early on. Both paths lead to a durable, slippery surface; rougher textures simply take a few more cycles to reach that gliding sweet spot. Check for flatness, look for a comfortable handle angle, and make sure pour spouts align with your dominant hand. If you plan to use induction or a glass cooktop, verify the base is smooth enough that it won’t scratch and that the contact area is broad for efficient heating.
Seasoning fundamentals: what it is, why it works
Seasoning is a thin, hard coating created when oils or fats are heated past their smoke point. Under heat, the oil’s molecules bond into a plastic-like film that clings to iron. You don’t want a thick, shiny varnish; you want many whisper-thin layers that cure into a tough surface. That surface repels moisture, resists oxidation, and helps food release. Every time you cook with a bit of fat, you reinforce it.
There are two kinds of seasoning to think about. Initial seasoning gives a stripped or brand-new pan a head start. Ongoing reinforcement happens whenever you sauté, roast, or sear with oil or natural fats. Most modern pans ship with a modest factory seasoning, which is often fine for starting dinner tonight. Still, an hour-long bake cycle or two can make the pan more forgiving.
Initial bake-on, step by step:
- Wash the pan once with hot water and a little mild dish soap to remove factory residues. Rinse and dry fully.
- Warm the skillet over low heat for a minute to drive off water.
- Add a pea-sized drop of a neutral, high-smoke oil (grapeseed, canola, refined avocado). Rub it in with a lint-free cloth until the surface looks dry, not glossy.
- Invert the pan on a middle oven rack (place a sheet or tray underneath to catch any tiny excess) and bake at 450–500°F (230–260°C) for 60 minutes. Let it cool in the oven.
- Repeat once or twice for brand-new, rougher pans. One cycle is often enough for gently used pans.
That’s all there is to it. If the pan feels tacky after cooling, too much oil remained on the surface. Wipe it thoroughly, reapply a thinner film, and bake again. Thin layers are the secret to a durable, chip-resistant finish.
A 7-day seasoning jumpstart
If you want a reliable path from day one to week two, try this short plan. It doubles as a kitchen routine to help you learn the pan’s quirks while building a resilient finish.
- Day 1: Perform one or two oven seasoning cycles as described above. When cool, cook something fatty: bacon, skin-on chicken thighs, or sausage. Wipe out and rinse with hot water afterward, dry, and apply a thin film of oil.
- Day 2: Roast potatoes in a lightly oiled, preheated skillet at 425°F (220°C). Shake once or twice. The starchy, oily surface helps.
- Day 3: Sear burgers or smash patties with a little oil. Heat until a faint wisp of smoke rises from the oil, then cook. After cleaning, buff with a thin post-wash oil.
- Day 4: Make a pan pizza. Preheat the empty skillet in the oven, oil lightly, add the dough and toppings, then bake. The crust’s oil and heat reinforce the finish.
- Day 5: Fry eggs with patience. Preheat longer than you think, add a touch of oil or butter, and let the eggs release on their own timeline. If they stick, your pan may simply need another week of routines like burgers or roasted veg before eggs become effortless.
- Day 6: Roast vegetables tossed in oil and salt—Brussels sprouts, carrots, or cauliflower. High heat plus oil equals reinforcement.
- Day 7: Do a light re-bake if anything feels tacky. Otherwise, clean, dry, and put the pan away with a whisper-thin oil coat.
This plan isn’t a rulebook; it’s a gentle nudge to keep the pan in regular rotation while the seasoning matures. Within a couple of weeks, you’ll notice easier release and a deeper, satin-like sheen.
Daily cleaning that protects seasoning
Your everyday routine matters more than any single deep seasoning session. After cooking, let the skillet cool until warm but safe to handle. Wipe out crumbs and pour off excess grease. Hot water plus a soft brush, nonmetal scrubber, or chain mail scrubber will remove most residues without scuffing the finish. If stuck bits remain, add a splash of water and simmer for a minute or two, then scrape gently with a wooden or silicone spatula.
Soap can be used sparingly. A thin, well-baked polymer surface won’t wash away with a little mild dish soap. That said, you rarely need more than hot water and light abrasion. Avoid long soaks; submersion invites rust along the rim and on any thinly coated patches. Once clean, dry immediately: set the skillet over low heat for a few minutes until any trace of moisture disappears. Then apply a pea-sized drop of oil, spread it with a cloth, and buff until it looks almost dry. This step replaces microscopic oil that rinsing removes and keeps the finish lively rather than chalky.
Useful guardrails:
- Skip the dishwasher—detergents and long cycles are tough on seasoning.
- Reserve steel wool for restoration projects, not daily messes.
- Don’t stack a damp pan under other pots. Moisture trapped between surfaces can cause an orange bloom in hours.
- Keep a dedicated brush near the sink. Frictionless workflows build consistent habits.
Heat management and cooking control
Cast iron is a heat reservoir. It warms gradually and cools slowly, which is ideal for browning, baking, and shallow frying. The trade-off is patience: preheat adequately to reduce sticking and boost color. On most ranges, medium or medium-low for 3–5 minutes works. Use the water dance test: flick a droplet into the pan; if it skitters like a bead rather than evaporating instantly, the surface is hot and energetic. Add a thin film of oil, swirl, then add food.
For searing steak, dry the surface of the meat thoroughly and salt just before it hits the pan. Heat until the oil emits a faint wisp of smoke, then lay the steak away from you. Press gently for contact. Avoid moving it for the first minute or two so the crust can form. When it releases easily, flip. On induction and glass tops, step the heat up gradually to avoid localized hot spots and consider rotating the skillet half a turn during the cook to even things out. On gas, center the flame and match pan size to burner to prevent overheated rims or a cool center.
In the oven, cast iron excels: it absorbs heat from all sides, reducing the chance of scorched bottoms and pale tops. Preheating the pan for cornbread, cobblers, or Dutch babies gives you a crisp edge and robust rise. On grills or over campfires, use moderate coals and keep a trivet or grate between the fire and the pan to diffuse direct flame. With any heat source, an inexpensive infrared thermometer can help you learn your skillet’s behavior: 375–425°F (190–220°C) for gentle sautéing, 450–500°F (230–260°C) for robust searing.
Cooking techniques that build and preserve the finish
Leaning into cast iron’s strengths reinforces seasoning while delivering great food. High-heat searing with a touch of oil lays down thin polymer layers. Roasting starchy vegetables or doughs adds a friendly patina. Shallow frying in a half inch of oil, done occasionally, can restore a dulled surface almost like magic. Here are technique notes that keep the finish happy:
- Eggs and delicate fish: Thorough preheat and adequate fat matter. Let proteins release before nudging. If they stick early in your pan’s life, don’t force it—cook more forgiving items for a week, then try again.
- Tomato sauce and wine reductions: A short simmer is fine in a well-seasoned pan. Long, highly acidic cooks can thin the finish. Alternate with neutral or fatty cooks to keep balance.
- Deglazing: After searing meat, pour off excess fat, add a splash of stock or wine, and scrape up browned bits with a wooden spatula. Don’t reduce to dryness; leave a spoonful of liquid to protect the surface. Transfer to another vessel if you need a vigorous reduction.
- Baking: Preheat the skillet and oil lightly for cornbread, pan pizza, focaccia, or biscuits. The contact heat delivers a golden, crisp exterior that defines these dishes.
- Stir-fries: Cast iron holds heat, but its low walls (in a skillet) can make tossing tricky. Use slightly smaller batches and replenish heat between rounds for better browning.
Think of each cook as both dinner and maintenance. The best finish comes from regular, varied use: sear, roast, shallow fry, then wash, dry, and oil lightly.
Oil and fat choices, storage, and application
Most edible fats help build seasoning to some degree, but a few shine for both cooking and post-wash conditioning. You want oils that polymerize cleanly and resist gumming when used thinly.
- Grapeseed oil: Neutral flavor, relatively high smoke point. Reliable for searing and post-wash films.
- Refined avocado oil: Very high smoke point and stable under heat. Choose refined for neutral taste.
- Canola and sunflower oil: Widely available and cost-effective. Good all-around options.
- Flaxseed oil (food-grade): Can create a hard initial layer if applied extremely thin and baked thoroughly. It’s fussy; too thick and it chips. Optional, not required.
- Animal fats (tallow, lard, bacon grease): Excellent for cooking; saturated fats can produce a resilient, dark patina over time. Store rendered fat covered in the fridge, and discard if it smells off.
How much oil is the right amount after washing? Imagine polishing a wooden table: you’re aiming for a sheen, not a coat. If your pan feels sticky after a day, you used too much oil. Wipe with a clean cloth, warm it briefly, and buff again. If it looks dusty or dry, a small drop spread thin will refresh it. For storage, keep your conditioning oils in small bottles near the stove so the step feels effortless. If a rarely used oil smells stale, compost it and open a fresh bottle; off aromas can transfer to the pan.
One more note about smoke points: while they matter for high-heat searing, the post-wash film is so thin that it won’t smoke under normal storage or low-heat drying. The trouble starts with visible residue—if the surface looks glossy-wet after buffing, it’s too much.
Troubleshooting and full restoration
Even attentive cooks hit snags. Use these quick diagnoses and fixes to keep your skillet on track:
- Food sticks a lot: The pan wasn’t hot enough, there wasn’t enough fat, or the finish is still young. Preheat longer, add a touch more oil, and cook a few fatty recipes (like chicken thighs or smashed burgers) to reinforce the surface.
- Surface feels tacky: Too much oil between uses. Warm the pan, wipe thoroughly, then bake at 450–500°F (230–260°C) for 60 minutes to harden and thin the film.
- Flaking black bits: Usually old, carbonized residue—not the iron itself—breaking loose. Scrub with a gentle abrasive or chain mail and recondition with a thin oil coat. If flaking continues, a short bake may help reset the surface.
- Orange rust bloom: The pan stayed damp. Scrub with a non-scratch pad, rinse, dry on low heat, and oil thinly. Store with airflow (paper towel between stacked pans, lids ajar).
- Metallic taste or gray marks on food: Usually indicates bare spots where seasoning wore thin. Spot-season that area—thin oil, oven bake—or do a full bake if it’s widespread.
Rust rescue methods, from mild to deep:
- Light rust: Non-scratch pad with oil or a nylon brush and hot water. Dry and re-oil.
- Vinegar bath (equal parts white vinegar and water): Submerge only until rust softens, checking every 10–15 minutes and limiting the total time to about an hour to avoid etching. Rinse, scrub, neutralize with a mild baking-soda solution, rinse again, dry, and re-season.
- Lye bath: Breaks down baked-on organic gunk (not rust). Follow product instructions carefully, wear gloves and eye protection, and work in a ventilated space.
- Electrolysis: Advanced DIY method that reverses oxidation on rusty pieces using a battery charger and washing soda. Effective for severe cases but requires research, safety gear, and an outdoor setup.
Another option is the self-cleaning oven cycle for stripping old buildup. Place the pan in the oven during the cycle to carbonize gunk, then allow it to cool fully with the door closed. Ensure robust ventilation and follow your oven manufacturer’s guidance. After any stripping method, the pan will look raw and gray. Immediately wash, dry, and perform one to three seasoning cycles, then cook several fatty dishes to reestablish the patina.
Storage, stacking, and rust-averse habits
Good storage protects the finish you worked to build. After cleaning, drying, and buffing with a very thin oil film, let the pan cool before putting it away so nearby items don’t trap warmth and condensation. If you stack pans, slip a paper towel, thin cork mat, or felt separator between pieces to reduce abrasion and allow airflow. Store lids off or slightly ajar. In humid climates, add a small container of rice or a desiccant packet in the cabinet to lower moisture exposure.
Traveling with cast iron? Pack a small brush, a travel bottle of neutral oil, and a cloth for buffing. After cooking over a campfire or grill, follow the same rinse, dry, and light-oil routine. If it gets rained on, dry promptly and do a quick thin oil bake when you’re back home. For enameled cast iron, remember the rim and any bare edge can still rust if left damp; dry thoroughly and, if you notice exposed iron along the rim, touch it with a light smear of oil before storage.
Finally, consider a simple rule: the pan shouldn’t feel slick-wet or dusty-dry when stored. Aim for a smooth, barely-there sheen. If the cabinet is crowded, reorganize so the skillet can sit flat with minimal pressure from above—long-term stress can encourage tiny warps that translate into uneven heating.
Myths, facts, and smart purchases
There’s a lot of folklore around cast iron. Here are grounded takes you can rely on, followed by buying advice that respects your budget.
- Myth: Soap destroys seasoning. Fact: A fully baked polymer layer is resilient. A small amount of mild soap won’t erase it. Long soaks are the bigger problem.
- Myth: You need thick, shiny coats of oil between uses. Fact: Thin is in. Buff until nearly dry, then warm briefly. Thick coats get sticky and attract dust.
- Myth: Only one magic oil works. Fact: Many neutral, high-smoke-point oils build durable layers. Consistency beats brand chasing.
- Myth: Rust means the pan is ruined. Fact: Iron is forgiving. Remove rust, re-season, and cook on.
- Myth: Acidic foods are off-limits. Fact: Reasonable amounts are fine in a mature finish. Alternate with neutral or fatty cooks to keep the surface strong.
Buying tips:
- Budget models perform well with good care. A factory-seasoned, mass-market skillet can last decades. Don’t feel pressured to start with premium.
- Premium or vintage pieces may have smoother interiors and refined handles. These can feel great in use, especially for eggs, but they are preferences, not requirements.
- Inspect for flatness. Set the pan on a flat surface and look for wobble. A slight tilt is manageable; a dramatic rock is a red flag.
- Check for cracks (rare but critical). Hairline cracks can expand with heat cycles. If you see one, choose a different piece.
- Find a thrift-store treasure? Surface rust or grime is fixable with the restoration methods above. Save your budget for a lid and a quality spatula.
For more kitchen techniques, cookware guides, and setup ideas, browse the Cooking Tips section on our site at ghomedecor.com. You’ll pick up complementary skills—from organizing your prep area to choosing oils for different pans—that make cast iron even more enjoyable.
Maintenance schedules, checklists, and logs
Turning best practices into habits keeps your pan predictable. Use these checklists as a starting point and adjust for how often you cook, your local humidity, and your favorite recipes.
Each cook:
- Preheat patiently and add appropriate fat.
- Avoid aggressive scraping with sharp metal; use wood or silicone tools.
- After cooking, wipe out crumbs, rinse with hot water, scrub gently as needed, then dry on low heat for a few minutes.
- Apply a whisper-thin oil film and buff until nearly dry.
Weekly (or every 5–8 uses):
- Inspect the surface. If you find tacky patches, buff and do a 30–60 minute oven bake at 450–500°F (230–260°C) with an ultra-thin coat of oil.
- If the surface looks dull, plan a fatty cook—roasted potatoes, skillet pizza, or seared chops—to reinforce the patina.
Monthly:
- Check the bottom for burnt-on spills that can wobble the pan. Carefully scrape residue with a plastic scraper and wipe clean.
- Confirm the pan sits flat on your cooktop. If it rocks, adjust your burner selection or consider a different heat setting to compensate.
- Wipe the exterior with a lightly oiled cloth to discourage rust, especially along the rim and handle junction.
Seasonal (or quarterly):
- If you live in a damp climate or went through a stretch of acidic cooks, do a preventive hardening bake with a very thin oil layer.
- Empty and reorganize the cabinet so the skillet has breathing room. Replace worn felt separators.
- Review your oil supply. If a bottle smells off, compost it and replace with fresh.
Maintenance log idea: Keep a small note on your phone or a card in the cabinet. Jot down quick cues like “March: sticky patch fixed with hot bake” or “July: vinegar deglaze—plan a fatty roast.” These small observations speed troubleshooting and help you learn the pan’s personality across seasons.
Putting it all together: a cast iron habit that lasts
The most satisfying cast iron experiences come from small, repeatable actions. Preheat until the water bead skitters. Use enough fat for the technique. Clean while the pan is warm, dry it completely, and finish with a thin oil buff. When problems appear, treat them as feedback: tackiness calls for thinner coats and a hot bake, rust wants prompt drying and a little protection, dullness benefits from a few high-heat, fatty cooks.
Over the months, your skillet will change. It will darken, smooth out, and develop a satin sheen. The handle will wear to your grip, and the routine will simplify to a few automatic steps. Eggs will slide with a nudge, roasts will emerge burnished, and cornbread will crackle as it hits the table. That quiet reliability is the real reward of steady cast iron skillet care. And because the pan thrives on use, you can enjoy the results week after week, confident that a little mindful maintenance keeps the momentum going.